
Iron Skillet Blackberry Cobbler

There is something inherently nostalgic about a cast iron skillet blackberry cobbler cooling on a counter after a warm afternoon. The way the dark, jam-like juices bubble up around the edges of a golden, tender crust is the hallmark of a true summer berry dessert. Unlike traditional pies that require chilling dough and intricate lattice work, a skillet cobbler is wonderfully rustic, leaning into the natural sweetness of sun-ripened berries and the superior heat retention of cast iron to create a homemade fruit cobbler that is both effortless and sophisticated.
This recipe focuses on the beautiful contrast between the tart fruit and the sweet, biscuit-like topping. By using a heavy skillet, you ensure that the edges of the cobbler get that coveted buttery crispness while the center remains soft and pillowy. It is an approachable technique that yields a high-reward result, making it a reliable choice for everything from casual backyard gatherings to a cozy weeknight treat.
Why You’ll Love This Recipe
- Superior Texture: The cast iron skillet provides even heat distribution, ensuring the bottom of the cobbler develops a perfectly browned, slightly crisp edge that you simply cannot achieve in a glass baking dish.
- Effortless Preparation: This easy blackberry cobbler recipe skips the rolling pins and food processors, opting for a simple stir-and-layer method that comes together in just a few minutes.
- Seasonal Versatility: While blackberries are the star here, the base technique works beautifully with whatever fruit is currently in season at your local farmer’s market.
- One-Pan Convenience: From melting the butter to baking the final product, the skillet acts as both the preparation vessel and the serving dish, significantly cutting down on cleanup.
Ingredients You’ll Need
The beauty of a fruit cobbler lies in its humble pantry staples. When combined correctly, these basic ingredients transform into a complex dessert with deep flavor and various textures.
- Blackberries: These provide the tart, vibrant base of the dish. When they bake, they release their juices, creating a natural sauce that thickens slightly as it cools.
- All-Purpose Flour: This forms the structure of your cobbler topping. It provides a soft crumb that absorbs just enough of the berry juice without becoming soggy.
- Granulated Sugar: Sugar serves a dual purpose: it macerates the berries to draw out their flavor and helps the crust achieve a beautiful golden-brown color through caramelization.
- Unsalted Butter: Melting the butter directly in the skillet before adding the batter creates a “fried” edge on the crust, adding a rich, savory depth to the cast iron skillet blackberry cobbler.
- Whole Milk or Buttermilk: This provides the moisture needed for the batter. Buttermilk is a particularly great choice if you prefer a slightly tangier, more tender crumb.
- Baking Powder: The primary leavening agent that gives the cobbler its signature rise, ensuring the topping stays light rather than dense.
- Lemon Juice and Zest: A little acidity brightens the fruit and balances the sugar, making the blackberry flavor truly “pop.”
Easy Ways to Change It Up
- Mixed Berry Variation: If you don’t have enough blackberries, feel free to supplement with raspberries or blueberries for a homemade fruit cobbler that features a variety of summer colors.
- Warm Spice Addition: A pinch of cinnamon or a dash of ground ginger added to the dry ingredients can add a lovely autumnal warmth to the dish.
- Nutty Topping: Sprinkle a handful of sliced almonds or chopped pecans over the batter before baking to add a satisfying crunch to every bite.
- Bourbon Infusion: For a more “grown-up” flavor profile, toss the blackberries in a tablespoon of bourbon before layering them into the skillet.
How to Make a Cast Iron Skillet Blackberry Cobbler
Step 1: Prepare the Fruit Base
Start by cleaning your blackberries and removing any stray stems. In a medium bowl, gently toss the berries with a bit of sugar and lemon juice. This step is crucial because it allows the fruit to begin releasing its natural juices before it even hits the oven. Letting them sit for about ten minutes creates a syrupy consistency that prevents the final dish from being too dry or “bready.”
Step 2: Melt the Butter and Pre-Heat the Skillet
Place your cast iron skillet in the oven while it preheats, or melt the butter on the stovetop over low heat. You want the butter to be completely melted and the skillet to be hot when the batter is added. This immediate contact between the hot iron, melted butter, and cool batter is what creates those crispy, buttery edges that make baking with cast iron so rewarding.
Step 3: Whisk the Topping Batter
In a separate bowl, whisk together your flour, sugar, baking powder, and salt. Slowly pour in the milk and vanilla, stirring until just combined. Be careful not to overmix the batter; a few small lumps are perfectly fine. Overmixing can lead to a tough, rubbery crust rather than the tender, cake-like texture that defines a high-quality cast iron skillet blackberry cobbler.
Step 4: Assemble Without Stirring
Pour the batter directly over the melted butter in the hot skillet. Now, here is the most important part: do not stir the batter and butter together. Instead, gently drop your prepared blackberries over the top of the batter. As the cobbler bakes, the batter will rise up and around the berries, creating a beautiful “sunken fruit” effect that looks as good as it tastes.
Step 5: Bake Until Golden and Bubbly
Slide the skillet into the oven and bake until the top is a deep golden brown and the berry juices are thick and bubbling around the perimeter. The center should feel set but still have a slight spring to it. Because cast iron holds heat so well, the cobbler will continue to cook slightly once it is removed from the oven, so avoid over-baking.
Pro Tips for the Best Results
- Tip: Use a well-seasoned skillet. A properly maintained cast iron pan provides a natural non-stick surface, making it much easier to serve the cobbler without the bottom sticking.
- Tip: If using frozen berries, do not thaw them first. Thawing can release too much moisture too quickly, which might make your batter soggy. Simply add a few extra minutes to the baking time.
- Tip: For a sparkling finish, sprinkle a tablespoon of coarse sanding sugar or turbinado sugar over the batter before it goes into the oven.
- Tip: Allow the cobbler to rest for at least 15 to 20 minutes after baking. This allows the fruit juices to thicken into a sauce rather than running all over the plate.
How to Serve This Cobbler
While a cast iron skillet blackberry cobbler is exceptional on its own, it is practically begging for a cooling accompaniment. The most classic choice is a generous scoop of high-quality vanilla bean ice cream. The heat from the skillet will slowly melt the ice cream, creating a creamy sauce that mingles with the tart blackberry juice.
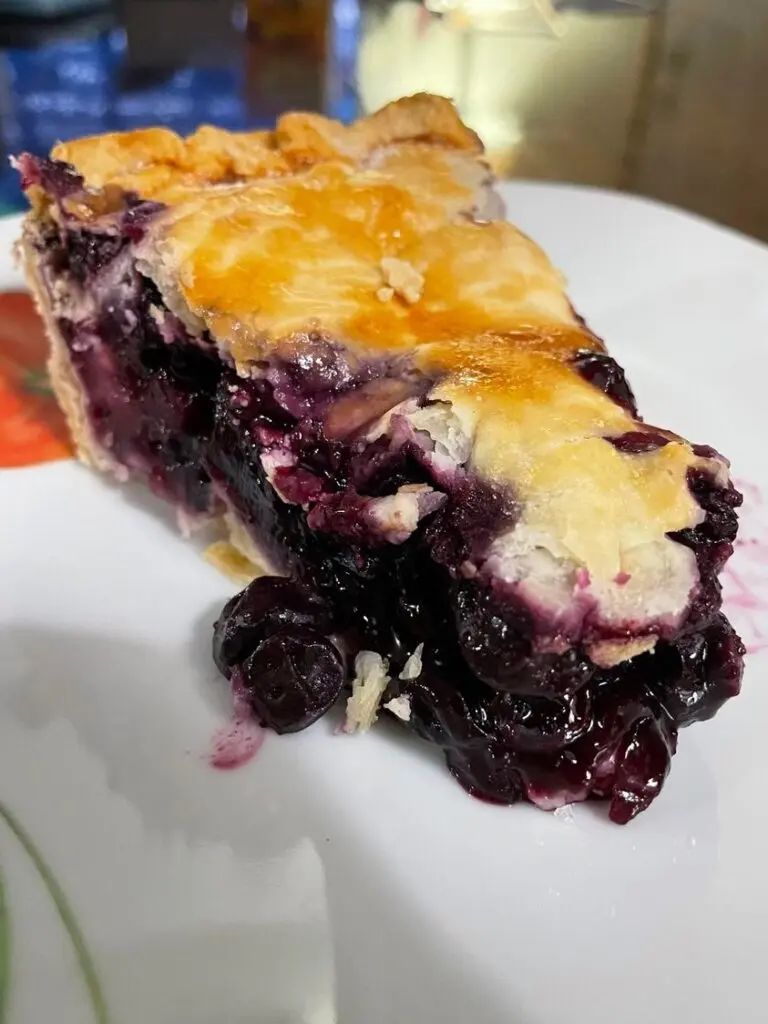
If you prefer something lighter, a dollop of freshly whipped cream with a hint of lemon zest is a fantastic alternative. For a brunch-style presentation, you could even serve smaller portions alongside a spoonful of Greek yogurt. Regardless of how you plate it, serving the cobbler directly from the skillet at the table adds to the rustic, communal charm of the meal.
Storage and Make-Ahead Guidance
Storing Leftovers
If you have any cobbler left over, it can be stored at room temperature for up to 24 hours, provided it is covered tightly with foil or plastic wrap. For longer storage, keep it in the refrigerator for up to 3 days. Note that the crust will soften over time as it absorbs moisture from the berries.
Reheating
To revive that crispy edge, it is best to reheat the cobbler in the oven or a toaster oven at 350°F (175°C) for about 10 minutes. While the microwave is faster, it will result in a much softer, steamier crust.
Making It Ahead
You can prepare the dry whisked ingredients and the fruit mixture a few hours in advance. However, do not combine the wet and dry ingredients or assemble the skillet until you are ready to bake, as the leavening agents begin to lose their power once they hit the moisture.
Final Thoughts
Mastering a cast iron skillet blackberry cobbler is a rite of passage for any home baker who appreciates simple, soul-satisfying desserts. It represents the best of seasonal baking—taking a handful of fresh ingredients and letting the heat of the oven and the character of the skillet do the heavy lifting. Whether you are using wild berries picked from a nearby thicket or a pint from the grocery store, this summer berry dessert is guaranteed to be a highlight of your table. Grab your favorite skillet, some fresh fruit, and get ready to enjoy one of the most iconic treats in American baking.
Frequently Asked Questions
Can I use a different size skillet?
Most recipes are designed for a 10-inch or 12-inch cast iron skillet. If you use a smaller 8-inch skillet, the cobbler will be much thicker and require a longer baking time. If using a larger pan, the cobbler will be thinner and bake faster. Keep a close eye on the browning of the crust to adjust accordingly.
What if I don’t have a cast iron skillet?
While the cast iron provides the best crust, you can make this easy blackberry cobbler recipe in a heavy ceramic or glass 9×9 baking dish. You may miss out on the ultra-crispy edges, but the flavor will still be delicious. Be sure to grease the dish well with butter before adding the batter.
How do I prevent my cobbler from being too runny?
A runny cobbler usually happens if the berries are exceptionally juicy or if the dish hasn’t rested long enough. Ensure you include a small amount of cornstarch or flour with the berries if they seem very wet, and always allow the homemade fruit cobbler to sit for at least 15 minutes before serving so the starches can set.
Can I use other types of fruit in this skillet recipe?
Absolutely. Peaches, plums, and cherries all work wonderfully with this exact batter. If using stone fruits, be sure to slice them into uniform pieces so they soften at the same rate. This summer berry dessert base is highly adaptable to whatever produce is at its peak ripeness.
Do I need to peel the blackberries?
No, blackberries do not have a peel that needs to be removed. Simply rinse them well in cold water and pat them dry. The skins are very thin and break down beautifully during the baking process, contributing to the deep purple color of the filling.
Iron Skillet Blackberry Cobbler

This classic Iron Skillet Blackberry Cobbler is a rustic and comforting dessert. Fresh blackberries are baked under a golden, buttery crust in a cast-iron skillet for that perfect crispy edge and bubbling fruit center.
- 4 cups fresh blackberries
- 1 cup granulated sugar, divided
- 1 tablespoon lemon juice
- 1 cup all-purpose flour
- 1 tablespoon baking powder
- 1/2 teaspoon salt
- 1 cup whole milk
- 1/2 cup unsalted butter, melted
- 1/2 teaspoon ground cinnamon
- 1Preheat your oven to 375 degrees F (190 degrees C).
- 2In a medium bowl, toss the blackberries with 1/4 cup of the sugar and the lemon juice. Set aside.
- 3In a large bowl, whisk together the remaining 3/4 cup sugar, flour, baking powder, and salt.
- 4Slowly stir in the milk and melted butter until the batter is just combined.
- 5Pour the batter into a 10-inch cast-iron skillet.
- 6Spoon the blackberry mixture evenly over the batter. Do not stir the berries into the batter; they will sink as it bakes.
- 7Sprinkle the top with a pinch of cinnamon.
- 8Bake for 40 to 45 minutes, or until the crust is golden brown and the fruit juices are bubbling.
- 9Remove from the oven and let cool slightly before serving warm with vanilla ice cream.
Keywords: blackberry cobbler, skillet dessert, cast iron recipes, summer berries, southern dessert


