
How to Make Homemade Oat Milk: A Healthy and Versatile Option

Finding the perfect best homemade oat milk recipe is often a journey of trial and error, specifically when trying to avoid the dreaded “slimy” texture that plagues many DIY attempts. When done correctly, this plant-based staple is incredibly creamy, subtly sweet, and remarkably versatile for everything from morning lattes to bowls of granola. It offers a clean, neutral flavor profile that rivals expensive store-bought brands without the unnecessary gums, oils, or preservatives often found on grocery store shelves.
Making your own creamy oat milk at home is not only a budget-friendly move but also a rewarding kitchen project that takes less than five minutes from start to finish. By mastering a few simple techniques—like using ice-cold water and avoiding over-blending—you can produce a dairy-free milk alternative that behaves beautifully in both cold and hot applications. This guide will walk you through the essential nuances of creating a smooth, refreshing milk that you will want to keep stocked in your fridge at all times.
Why You’ll Love This Recipe
- Cost-Effective: Oats are significantly cheaper than almonds or cashews, making this one of the most affordable ways to enjoy a high-quality non-slimy oat milk.
- Quick and Easy: Unlike nut milks that require hours of soaking, this recipe is ready in minutes with no advance planning required.
- Fully Customizable: You have complete control over the sweetness level and flavor additions, allowing you to tailor the milk to your specific palate.
- Zero Additives: By making it yourself, you skip the industrial thickeners and stabilizers, resulting in a cleaner and more natural product.
Ingredients You’ll Need
The beauty of this best homemade oat milk recipe lies in its simplicity. With just a handful of pantry staples, you can create a liter of fresh milk that tastes far superior to boxed versions.
- Rolled Oats: Use old-fashioned rolled oats for the best texture; avoid steel-cut oats (too hard) or quick oats (which turn to mush and create slime).
- Filtered Water: The quality of your water impacts the final taste, so using filtered, ice-cold water is highly recommended to keep the oats from heating up during blending.
- Sea Salt: A tiny pinch acts as a flavor enhancer, balancing the natural sweetness of the oats and making the milk taste more well-rounded.
- Maple Syrup or Dates: These are optional sweeteners that provide a gentle, caramel-like undertone to the finished creamy oat milk.
- Vanilla Extract: A splash of high-quality vanilla adds a professional, “barista-style” finish that pairs perfectly with coffee.
Variations and Smart Swaps
- Chocolate Oat Milk: Blend in a tablespoon of high-quality cocoa powder and an extra teaspoon of maple syrup for a rich, kid-friendly treat.
- Extra Creamy Barista Style: Add a teaspoon of neutral oil (like avocado oil) or a tablespoon of hemp seeds to the blender to increase the fat content and improve frothing.
- Spiced Oat Milk: Incorporate a dash of cinnamon or nutmeg for a warm, autumnal flavor profile that is excellent in hot tea or oatmeal.
- Unsweetened Version: Simply omit the dates or maple syrup if you prefer a neutral milk for savory cooking or low-sugar diets.
How to Make the Best Homemade Oat Milk Recipe
Step 1: Combine the Oats and Cold Water
Start by adding your measured rolled oats and ice-cold filtered water into a high-speed blender. It is vital to use cold water because heat is the primary catalyst for starch release, which leads to a slimy consistency. If your tap water isn’t chilled, add a few ice cubes to the blender to keep the temperature down during the mechanical process. Do not soak the oats beforehand; they should go into the blender completely dry to maintain their structural integrity.
Step 2: Flash Blend for Perfect Texture
This is the most critical stage of the best homemade oat milk recipe. Turn your blender to its highest setting and blend for only 20 to 30 seconds. You want to break the oats down enough to release their milk, but you do not want to pulverize them into a fine paste. Over-blending generates friction and heat, which will inevitably turn the mixture gummy. If you see the liquid starting to look thick or heavy, stop immediately.
Step 3: Strain Gently Through a Fine Mesh
Place a nut milk bag or a clean, thin lint-free towel over a large bowl and slowly pour the mixture through. The golden rule here is to let gravity do the work. Do not squeeze or wring the bag aggressively, as this forces the heavy starches through the fabric and into your milk, resulting in a gritty or slimy texture. Simply let it drip through, and perhaps give it a very light, gentle squeeze at the very end to collect the last bit of liquid.
Step 4: Flavor and Chill Immediately
Once strained, whisk in your salt, vanilla, and any liquid sweeteners you prefer. Transfer the fresh non-slimy oat milk into a glass jar or bottle and seal it tightly. It is best to refrigerate the milk immediately. Because there are no stabilizers, the milk will naturally separate as it sits. This is completely normal and a sign that you have a pure, additive-free product.
Pro Tips for Success
- Tip: Always use “Old Fashioned” rolled oats. Instant oats are pre-processed and will break down too quickly, leading to a poor consistency.
- Tip: Double-strain if you want a commercially smooth finish. Passing the milk through the nut milk bag a second time removes any lingering fine sediment.
- Tip: Never soak your oats. While soaking is great for nut milks, it makes oats far too soft and almost guarantees a slimy result.
- Tip: Shake before using. Since this dairy-free milk alternative doesn’t contain emulsifiers, the solids will settle at the bottom. A quick shake restores the creamy texture.
Troubleshooting Common Problems
Why is my oat milk slimy?
Sliminess is usually caused by three things: soaking the oats, using warm water, or blending for too long. To fix this, ensure you are using dry oats and ice-cold water, and keep your blending time under 30 seconds. Additionally, remember not to squeeze the straining bag too hard.
Why does my milk separate in the fridge?
Separation is a natural occurrence for any homemade plant milk. Without industrial gums like xantham or guar gum, the heavier oat particles will sink to the bottom. This doesn’t mean the milk has gone bad; it just needs a vigorous shake before you pour it.
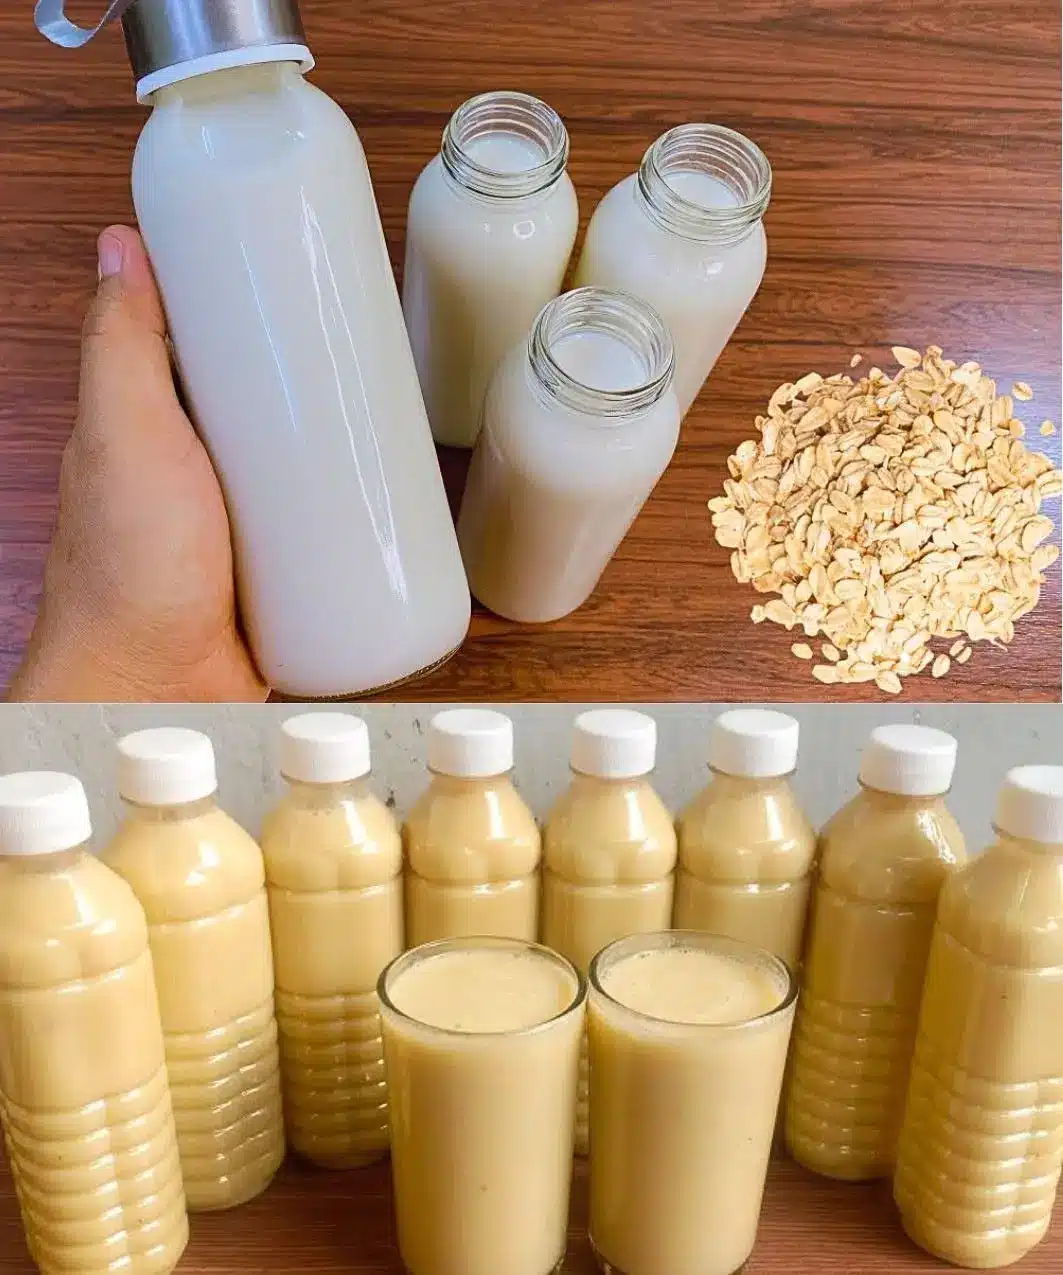
How to Serve Your Homemade Oat Milk
This creamy oat milk is a champion in the kitchen. For coffee lovers, it serves as a fantastic creamer for iced coffee or cold brew. While homemade oat milk doesn’t always froth as stiffly as the commercial “Barista Edition” versions (which contain added oils), it still provides a rich, silky mouthfeel when stirred into hot lattes.
Beyond beverages, use this milk in your morning bowl of cereal or as the liquid base for a refreshing smoothie. It is also an excellent choice for baking; use it as a 1:1 replacement for dairy milk in pancake batters, muffins, and quick breads. Because of its slight natural sweetness, it pairs exceptionally well with chocolate and fruit-based recipes.
Storage and Make-Ahead
Storing Leftovers
Store your homemade oat milk in a clean glass container in the coldest part of your refrigerator. It generally stays fresh for about 3 to 5 days. Since it lacks preservatives, keep an eye on the smell and consistency; if it develops an “off” odor or becomes excessively thick, it is time to discard it and make a fresh batch.
Can You Freeze It?
Freezing is generally not recommended for this best homemade oat milk recipe. The thawing process often changes the molecular structure of the oat starches, leading to a grainy or separated texture that is difficult to fix even with re-blending. Since the recipe takes only minutes to make, it is better to prepare it in small, fresh batches.
Final Thoughts
Mastering the best homemade oat milk recipe is a game-changer for anyone looking to reduce their grocery bill or move toward a more plant-based lifestyle. By focusing on the temperature of your water and the duration of your blend, you can achieve a professional-quality creamy oat milk that elevates your morning routine. It is a clean, simple, and satisfying way to take control of the ingredients in your fridge while enjoying a delicious dairy-free milk alternative.
Frequently Asked Questions
Can I use steel-cut oats for this recipe?
It is not recommended to use steel-cut oats for this specific non-slimy oat milk technique. Steel-cut oats are much denser and require significant soaking or cooking to soften. If you blend them raw, they won’t break down enough to create a creamy milk and will leave you with a watery, gritty result.
Do I need a high-speed blender?
While a high-speed blender (like a Vitamix or Blendtec) makes the process faster and smoother, you can certainly use a standard kitchen blender. Just be extra careful with the timing. You may need to blend for an extra 10 seconds, but keep a close watch to ensure the mixture doesn’t get warm.
Can I use this milk for hot lattes?
Yes, you can use it in hot drinks, but be aware that homemade oat milk can sometimes thicken or “cook” if heated too aggressively. It is best to gently warm it over low heat rather than bringing it to a rolling boil. If you are adding it to very hot coffee, it may thicken slightly, which many people actually enjoy as it adds body to the drink.
Is homemade oat milk gluten-free?
Oats themselves are naturally gluten-free, but they are frequently processed in facilities that handle wheat. If you have a gluten sensitivity or Celiac disease, ensure that the package of rolled oats you purchase is explicitly labeled as “Certified Gluten-Free” to avoid cross-contamination.
Homemade Oat Milk

Learn how to make creamy, delicious, and healthy homemade oat milk in just minutes. This budget-friendly dairy-free alternative is perfect for lattes, smoothies, and cereal, offering a clean taste without the additives found in store-bought versions.
- 1 cup old-fashioned rolled oats (gluten-free if preferred)
- 4 cups cold filtered water
- 1 pinch sea salt
- 1 tsp vanilla extract (optional)
- 1-2 pitted Medjool dates or 1 tbsp maple syrup (optional)
- 1Add the oats, water, salt, and any optional sweeteners to a high-speed blender.
- 2Blend for approximately 30 to 45 seconds. Do not over-blend, as the friction can heat the oats and cause a slimy texture.
- 3Strain the liquid through a nut milk bag, fine mesh strainer, or a clean thin towel into a large bowl.
- 4Avoid squeezing the bag too hard; let the liquid filter through naturally to keep the milk smooth.
- 5Transfer to a sealed glass jar and store in the refrigerator.
Keywords: oat milk, homemade oat milk, vegan milk, dairy-free alternative, plant-based milk


