
How to Make Homemade Oat Milk: A Healthy and Versatile Option

Making your own plant-based staples at home is one of the most rewarding shifts you can make in your kitchen, and this easy homemade oat milk recipe is the perfect place to start. If you have ever been frustrated by the high price of store-bought cartons or the long list of stabilizers and gums found in commercial brands, you are going to love how clean and refreshing this version tastes. It is incredibly budget-friendly, requiring only two base ingredients and about five minutes of your time. The result is a creamy oat milk that works beautifully in iced coffee, poured over morning cereal, or used as a nut-free vegan milk base for smoothies.
The beauty of learning how to make oat milk at home lies in the control you have over the final texture and sweetness. Many people are hesitant to try it because they fear the dreaded “slimy” consistency that can sometimes happen with oats. However, by following a few simple techniques—like using ice-cold water and avoiding over-blending—you can achieve a smooth, light, and delicious dairy-free milk alternative that rivals any premium brand. This recipe is designed to be approachable and foolproof, ensuring that even a first-timer can produce a batch of milk that is perfectly balanced and ready to enjoy immediately.
Why This Recipe Is a Keeper
- Incredible Cost Savings: Compared to the four or five dollars you might spend on a single carton at the grocery store, this version costs mere pennies per serving using pantry-stable oats.
- No Strange Additives: You won’t find any dipotassium phosphate, rapeseed oil, or industrial thickeners here—just pure oats and water for a clean, wholesome beverage.
- Customizable Flavor: You can easily adjust the sweetness and salt levels to your preference, or keep it completely plain for use in savory recipes like creamy soups.
- Eco-Friendly Choice: Making milk at home significantly reduces packaging waste and has a much lower carbon footprint than dairy or even almond milk production.
Ingredients You’ll Need
To get the best results with this easy homemade oat milk recipe, the quality and type of your ingredients matter more than the quantity. Because there are so few components, each one plays a vital role in the final flavor and mouthfeel of the milk.
- Rolled Oats: Also known as old-fashioned oats, these provide the perfect balance of starch and fiber. Avoid using steel-cut oats, as they are too hard to blend, or quick oats, which can lead to a mushier texture.
- Ice-Cold Water: Heat is the enemy of non-slimy oat milk. Using very cold water helps keep the oat starch stable during the high-speed blending process.
- Fine Sea Salt: A tiny pinch of salt acts as a flavor enhancer, cutting through the earthiness of the oats and making the milk taste more “finished.”
- Maple Syrup or Medjool Dates: These are optional but highly recommended if you prefer a slightly sweet milk. Dates add a rich, caramel-like undertone, while maple syrup blends in seamlessly.
- Vanilla Extract: A splash of pure vanilla adds a floral aroma that makes this creamy oat milk feel like a gourmet treat.
Easy Ways to Change It Up
- Chocolate Oat Milk: Blend in a tablespoon of high-quality cocoa powder and an extra teaspoon of sweetener for a decadent, dairy-free chocolate treat that kids love.
- Spiced Vanilla: Add a pinch of cinnamon and a tiny dash of nutmeg to the blender for a warm, cozy flavor profile that is perfect for autumn lattes.
- Strawberry Cream: For a refreshing summer drink, blend a few fresh or freeze-dried strawberries into the mix for a naturally pink and fruity beverage.
- Extra Rich Version: If you want a thicker milk for coffee creamer, simply reduce the water by half a cup or add a tablespoon of hemp hearts for extra healthy fats.
How to Make This Easy Homemade Oat Milk Recipe
Step 1: Combine the Ingredients in the Blender
Start by adding your rolled oats, ice-cold water, salt, and any optional sweeteners or flavorings into the jar of a high-speed blender. It is important to ensure the water is truly cold; some even prefer to replace half a cup of the water with ice cubes to keep the temperature down. Keeping the mixture cool prevents the starches in the oats from “cooking” or hydrating too quickly, which is the primary cause of a gummy or slimy texture in the finished product.
Step 2: Blend Briefly for a Smooth Texture
Turn the blender on high and process the mixture for only about 30 to 45 seconds. You do not want to blend until the mixture is warm or until the oats are completely pulverized into a fine paste. The goal of this easy homemade oat milk recipe is to break the oats down just enough to release their milkiness without overworking the starch. If you blend for too long, the friction from the blades will create heat, which negatively impacts the consistency.
Step 3: Strain Without Squeezing
Place a fine-mesh nut milk bag or a clean, thin kitchen towel over a large bowl. Carefully pour the blended liquid through the strainer. The most critical tip for success here is to let the liquid gravity-strain. Do not squeeze the bag or the cloth to get every last drop out. Squeezing forces the “slimy” starch through the fibers of the cloth and into your milk. Let it drip naturally, then discard the leftover oat pulp or save it for your morning oatmeal.
Step 4: Chill and Store
Once strained, transfer your dairy-free milk alternative into a clean glass jar or bottle. At this stage, you may notice the milk looks a bit thin, but it will settle and slightly thicken as it chills. Always store the milk in the refrigerator immediately. Because this is a natural product without emulsifiers, it is normal for the milk to separate over time. Simply give the bottle a vigorous shake before each use to redistribute the oat solids.
Pro Tips for Success
- Use a Nut Milk Bag: While a fine-mesh sieve can work, a dedicated nut milk bag or a double layer of cheesecloth provides a much smoother, sediment-free result.
- Don’t Soak Your Oats: Many people assume soaking oats (like you do with nuts) is helpful, but with oats, it actually increases the sliminess. Use them dry and straight from the container.
- Double Strain for Perfection: If you find your milk still has a bit of “grit,” try straining it a second time through a clean cloth to catch any remaining fine particles.
- Temperature Control: If your blender runs particularly hot, consider chilling the blender jar in the freezer for ten minutes before you start the process.
- Sweeten After Straining: If using liquid sweeteners like honey or maple syrup, you can stir them in after straining to ensure they don’t get trapped in the oat pulp.
Troubleshooting Common Problems
Why is my oat milk slimy?
Sliminess is usually caused by heat or over-handling. To fix this, ensure you are using ice-cold water and blending for less than 45 seconds. Additionally, remember the golden rule: never squeeze the straining bag! If you follow these two steps, your milk should stay light and crisp rather than gummy.
Why does my milk separate in the fridge?
Separation is a natural sign that your milk is free from chemical emulsifiers. Commercial brands use oils and gums to keep everything bonded together. For your homemade version, a quick 5-second shake of the bottle before pouring will perfectly recombine the ingredients.
Why is the flavor a bit bland?
If the milk tastes too “watery,” you might need a tiny bit more salt or sweetener to make the oat flavor pop. Oats have a very neutral profile, so that small pinch of sea salt is essential for bridging the gap between “watery oats” and a satisfying nut-free vegan milk.
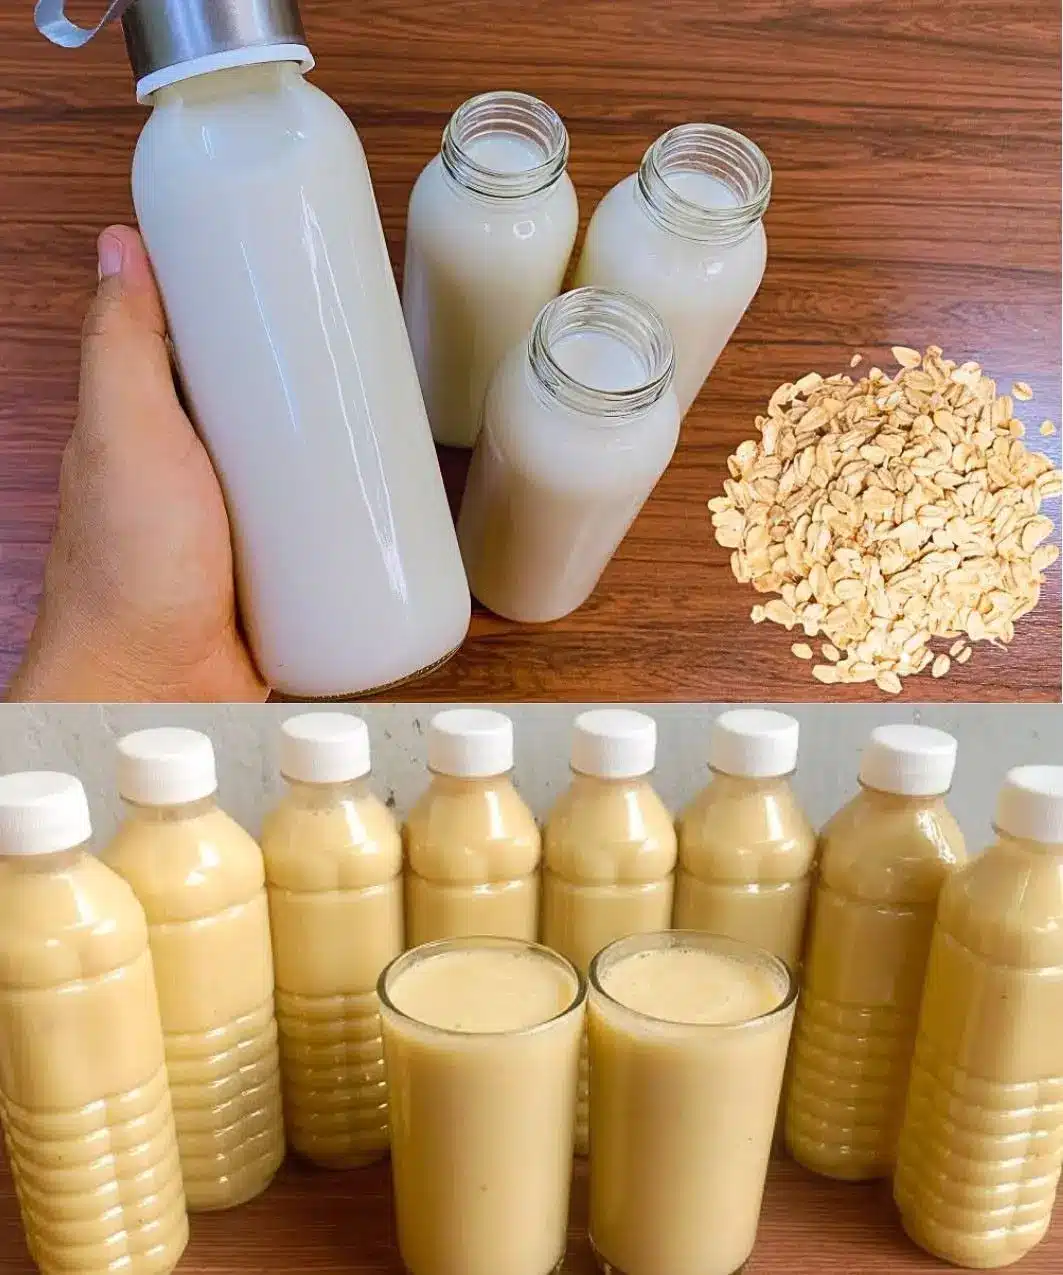
How to Serve Your Homemade Oat Milk
This creamy oat milk is incredibly versatile and can be used in almost any way you would use traditional cow’s milk. It is particularly excellent in cold applications where its natural sweetness and smooth texture can shine. Many people find it to be the best dairy-free milk alternative for iced lattes because it has a natural creaminess that doesn’t feel as thin as almond milk.
In Beverages
Pour it into your cold brew coffee, stir it into matcha lattes, or use it as a base for protein shakes. While it can be heated for hot coffee, be aware that homemade oat milk can thicken slightly when boiled (similar to how oatmeal thickens on the stove). For best results in hot drinks, warm it gently over low heat rather than steaming it aggressively.
In Breakfast and Baking
Use it as the liquid base for overnight oats to double down on that delicious oat flavor. It also works perfectly in pancake and waffle batters, providing a light crumb and a subtle nutty sweetness. You can even use it in place of milk for baking muffins, quick breads, or cakes.
Storage and Make-Ahead
Because this easy homemade oat milk recipe contains no preservatives, it has a shorter shelf life than the store-bought variety. You should store it in a tightly sealed glass jar in the coldest part of your refrigerator. It will stay fresh and delicious for about 3 to 5 days. It is not recommended to freeze oat milk, as the texture can become quite grainy and “mealy” upon thawing.
If you like to meal prep, you can easily make a double batch at the start of the week. Just remember that the fresher the milk, the better the flavor. Since it only takes five minutes to whip up, making small, frequent batches is often the best way to ensure you always have a high-quality nut-free vegan milk on hand for your morning routine.
Final Thoughts
Switching to a dairy-free milk alternative doesn’t have to be expensive or complicated. This easy homemade oat milk recipe proves that with a few simple ingredients and a blender, you can create a high-quality beverage that fits perfectly into a healthy, plant-based lifestyle. Whether you are trying to save money, reduce your environmental impact, or simply want a cleaner version of your favorite latte companion, this recipe delivers a creamy oat milk that you can feel good about drinking every single day.
Frequently Asked Questions
Can I use steel-cut oats for this recipe?
It is not recommended to use steel-cut oats for how to make oat milk. Steel-cut oats are the whole oat groat chopped into pieces; they are much harder and denser than rolled oats. They do not soften enough during the quick blending process to create a creamy liquid, and they can be quite tough on your blender blades. Stick with old-fashioned rolled oats for the best results.
Is homemade oat milk gluten-free?
Oats are naturally gluten-free, but they are often processed in facilities that handle wheat, which can lead to cross-contamination. If you have a gluten sensitivity or Celiac disease, make sure you purchase oats that are specifically certified gluten-free. This ensures your easy homemade oat milk recipe is safe for your dietary needs.
Can I use this milk to make lattes and froth it?
While homemade oat milk is delicious in coffee, it does not froth quite as well as “Barista Edition” store-bought milks. Those commercial versions contain added oils and dipotassium phosphate specifically designed to stabilize foam. Your homemade version will still taste great, but the foam will be thinner and will dissipate more quickly. For the best “latte” experience at home, use the “Extra Rich” variation mentioned above.
Do I have to use a sweetener?
Not at all! Many people prefer the natural, subtle sweetness of the oats on their own. Leaving out the sweetener makes this a very versatile milk that can be used in savory cooking, such as making a dairy-free bechamel sauce or adding creaminess to a potato soup. You can always taste the milk after straining and stir in a little sweetener later if you change your mind.
What can I do with the leftover oat pulp?
Don’t throw away that pulp! It is full of fiber and nutrients. You can stir it into a bowl of hot oatmeal, mix it into cookie dough, or add it to smoothie bowls for extra thickness. Some people even spread it thin on a baking sheet and dehydrate it to make “oat flour” or use it as a gentle, natural face mask. It’s a great way to ensure a zero-waste kitchen when making your creamy oat milk.
How to Make Homemade Oat Milk

Create your own creamy and delicious oat milk at home with this simple recipe. This healthy, budget-friendly, and versatile dairy-free alternative is perfect for coffee, smoothies, or cereal.
- 1 cup rolled oats
- 4 cups cold water
- 1 tablespoon maple syrup (optional)
- 1 teaspoon vanilla extract (optional)
- 1/4 teaspoon sea salt
- 1Combine rolled oats, water, maple syrup, vanilla, and salt in a high-speed blender.
- 2Blend on high for 30 to 45 seconds. Do not over-blend to prevent the milk from becoming slimy.
- 3Strain the mixture through a nut milk bag or a fine-mesh sieve lined with cheesecloth into a large jar or bowl.
- 4Transfer the oat milk to a sealed container and store in the refrigerator.
- 5Shake well before each use as natural separation will occur.
Keywords: oat milk, homemade, dairy-free, vegan, healthy beverage, easy recipe


